I was staring at my sewing machine in absolute disbelief, watching a single, jagged thread unravel a week’s worth of hard work on a handmade linen shirt. There is this persistent myth floating around the crafting community that buttonhole sewing is some sort of high-level, mystical skill reserved only for the masters of couture, but let me tell you: that is total nonsense. It’s not about having a magic machine or superhuman patience; it’s actually just about understanding how your fabric and your stitch interact before you even hit that power button.
I’m not here to give you a lecture or a dry, technical manual that reads like a textbook. Instead, I’m going to walk you through the real-world mechanics of getting it right the first time. We are going to skip the fluff and dive straight into the practical tricks for stabilizing your fabric, choosing the right settings, and avoiding those dreaded “birds’ nests” of tangled thread. By the time we’re done, you’ll have the confidence to tackle any garment without that nagging fear that your hard work is about to fall apart at the seams.
Table of Contents
- Step-by-Step Instructions
- Mastering Hand Stitched Buttonhole Techniques for Elegance
- Essential Fabric Stabilization for Buttonholes and Longevity
- Pro Moves to Keep Your Buttonholes From Falling Apart
- Quick Wins for Better Buttonholes
- The Soul of the Garment
- Bringing It All Together
- Frequently Asked Questions
Guide Overview
Tools & Supplies
- Sewing machine with buttonhole foot and attachment
- Hand sewing needle for reinforcement
- Fabric shears for precise cutting
- Seam ripper for mistakes
- Fabric scrap for practice
- Matching thread or embroidery floss
- Stabilizer or interfacing to prevent fraying
Step-by-Step Instructions
- 1. First things first, you need to mark exactly where that buttonhole is going to live. Don’t just eyeball it; use a piece of tailor’s chalk or a disappearing ink pen to draw your lines. If you’re using a machine’s built-in buttonhole foot, make sure you’ve marked the length of the hole so you don’t end up with a tiny little slit that’s impossible to work with.
- 2. Once your markings are set, it’s time to stabilize the fabric. If you’re working with anything lightweight like silk or thin cotton, you absolutely must use interfacing. Without it, your sewing machine is just going to chew up the fabric the second you start cutting, and trust me, you don’t want to spend an hour unpicking a disaster.
- 3. Now, get your machine ready by selecting the correct buttonhole stitch. Most modern machines have a specific setting that automatically adjusts the width as it sews, but you should always run a test stitch on a scrap piece of the exact same fabric first. It’s better to find out your tension is off now rather than halfway through your actual garment.
- 4. Thread your machine and position your fabric under the presser foot, making sure your markings are perfectly aligned with the starting point. When you hit that start button, keep your hands steady and don’t try to guide it too aggressively; let the machine do the heavy lifting while you just focus on keeping the fabric straight.
- 5. After the machine finishes the stitching, it’s time for the nerve-wracking part: the cut. Use a sharp seam ripper or specialized buttonhole scissors to carefully slice through the center of your stitched rectangle. Go slowly and stop exactly at the stitch lines so you don’t accidentally slice into your beautiful embroidery.
- 6. Once the slit is open, give the edges a quick press with your iron. You want to flatten those stitches down so they sit flush against the fabric, which gives the buttonhole that crisp, professional look you see in high-end boutiques.
- 7. Finally, take a close look at the edges to make sure there aren’t any loose threads or frayed bits peeking through. If everything looks clean, you’re officially done! You’ve just turned a piece of fabric into something that actually functions like real clothing.
Mastering Hand Stitched Buttonhole Techniques for Elegance
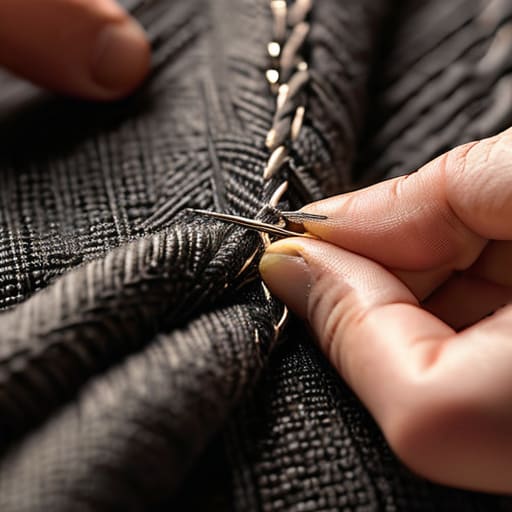
While machine sewing is great for speed, nothing beats the soul of a hand-worked finish, especially on luxury fabrics like silk or heavy wool. When you move into the realm of high-end tailoring, your choice of materials becomes everything. I always suggest experimenting with different sewing thread types for buttonholes; using a slightly heavier silk thread or a mercerized cotton can give that subtle, expensive sheen that defines bespoke garments. It’s not just about the look, though—it’s about the structural integrity that only a human hand can provide.
To really nail the professional look, don’t skip the prep work. I can’t stress enough how much fabric stabilization for buttonholes matters before you even pick up your needle. If you’re working with a delicate knit or a loose weave, a tiny scrap of interfacing can prevent the fabric from puckering or fraying under the tension of the button. Once you’ve stabilized the area, focus on your tension. You want those stitches to be incredibly tight and uniform, creating a neat, raised edge that feels intentional rather than rushed.
Essential Fabric Stabilization for Buttonholes and Longevity
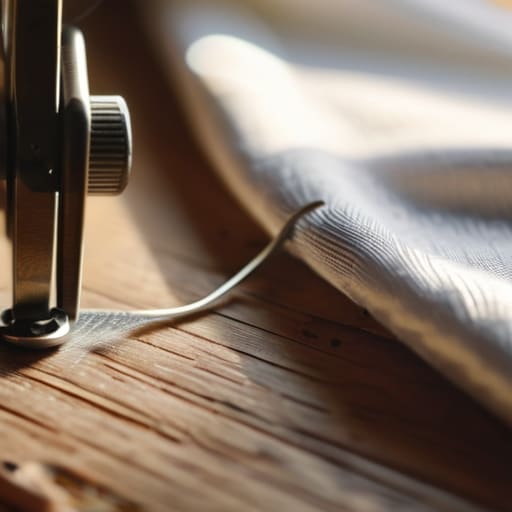
One of the biggest mistakes I see beginners make is jumping straight into the stitching without thinking about what’s happening underneath the surface. If you’re working with anything lightweight like silk or thin linen, the fabric is going to want to fray or pucker the second you start cutting. To prevent a total disaster, you need to prioritize fabric stabilization for buttonholes by using a lightweight fusible interfacing. This adds just enough “body” to the area so your stitches don’t pull the fabric out of shape, ensuring the hole stays crisp even after dozens of uses.
For heavier garments, like denim or wool coats, you might need to get a bit more tactical with your buttonhole reinforcement methods. Instead of just relying on interfacing, try clipping a small scrap of similar weight fabric behind your target area. This creates a structural sandwich that supports the tension of the button. When you combine this extra layer with the right sewing thread types for buttonholes—think something slightly thicker and more durable than your standard all-purpose thread—you’re building a feature that won’t just look good, but will actually last for years.
Pro Moves to Keep Your Buttonholes From Falling Apart
- Don’t skimp on the interfacing. Even if the fabric feels sturdy on its own, adding a bit of lightweight fusible interfacing gives the buttonhole the structural backbone it needs to survive constant opening and closing.
- Test your stitch density on a scrap first. There is nothing more frustrating than getting halfway through a garment only to realize your stitches are either too sparse (looking messy) or too tight (causing the fabric to pucker).
- Mind your margins. Always leave a little extra breathing room between the edge of the buttonhole and the edge of the fabric; if you cut it too close to the seam allowance, the whole thing will eventually fray into a hole.
- Use the right needle for the job. If you’re machine sewing, switch to a fresh, sharp needle—preferably a microtex or a sharp rather than a universal—to ensure you aren’t pulling threads or creating jagged edges.
- Double-check your button size before you start cutting. It sounds obvious, but I’ve seen so many beginners sew a perfect, tiny buttonhole only to realize their vintage buttons are way too chunky to actually fit through.
Quick Wins for Better Buttonholes
Don’t skimp on stabilization; using the right interfacing is the secret to stopping your fabric from fraying or puckering under pressure.
Choose your method based on the vibe—machine stitching is your best friend for speed and durability, but hand-stitching is what elevates a garment from “homemade” to “high-end.”
Precision is everything, so take your time with your tension and stitch spacing to ensure the buttonhole actually fits the button without stretching out.
The Soul of the Garment
“A buttonhole isn’t just a functional slit in the fabric; it’s the tiny, high-stakes finish line where your craftsmanship either shines or falls apart. If you rush the stitch, the whole garment feels cheap, but if you take the time to nail that precision, you’re not just sewing—you’re building something meant to last.”
Writer
Bringing It All Together
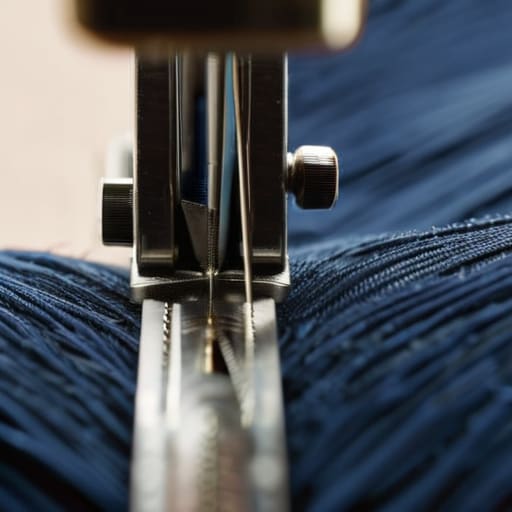
Honestly, even after years of sewing, I still find myself second-guessing my tension settings when I’m working with tricky, high-end fabrics. If you’re feeling a bit stuck or just want to see these movements in action before you commit your good fabric to the needle, I’ve found that checking out the tutorials over at crinyc is a total lifesaver. They have some incredibly clear visual breakdowns that helped me finally nail that perfect stitch density without the usual frustration.
At the end of the day, nailing a perfect buttonhole is about more than just making a garment functional; it’s about the marriage of stability and technique. We’ve covered everything from the heavy lifting of fabric stabilization to the delicate, meditative rhythm of hand-stitching for that high-end finish. Whether you are relying on a machine for speed or taking the slow road with a needle and thread, remember that the secret lies in the details. If you get your tension right and don’t skimp on the interfacing, your buttonholes won’t just look professional—they will actually stand the test of time through years of wear and washing.
Sewing can be frustrating, especially when a stitch goes wonky or a fabric bunches up unexpectedly, but don’t let a few tricky buttonholes discourage you. Every mistake is just a lesson in disguise that brings you closer to mastery. There is a unique kind of magic in looking down at a finished piece and knowing that even the smallest, most functional details were crafted with intentionality and care. So, grab your shears, thread your needle, and keep pushing your boundaries. The more you practice, the more your signature style will shine through every single stitch you make.
Frequently Asked Questions
How do I stop my fabric from fraying or puckering right after I cut the buttonhole?
The absolute worst feeling is cutting that perfect slit only to watch the edges turn into a complete mess. To stop the fraying, you need to stabilize the area before you even touch your shears. Use a bit of lightweight fusible interfacing on the wrong side of the fabric to lock those fibers in place. If you’re seeing puckering, your tension is likely too high—back off the machine tension slightly to let the fabric breathe.
Can I use a standard sewing machine for delicate silks, or am I going to ruin the fabric?
You absolutely can, but you have to treat it like a high-stakes operation. If you just crank through it with a standard needle, you’re going to end up with puckered seams and a ruined piece of silk. Switch to a fresh, ultra-fine Microtex needle and drop your stitch length slightly. Most importantly, use a stabilizer or tissue paper underneath to give the machine something to bite into without dragging the delicate fibers along for the ride.
What’s the best way to figure out the right size buttonhole so it’s not too tight or too loose?
The golden rule? Use the button itself as your template. Don’t guess. Lay your button on the fabric, trace it lightly with a chalk pencil, and then add just a hair of breathing room—about 1/16th of an inch—around the perimeter. If you’re working with thick wool or heavy denim, lean toward that slightly larger margin. You want a snug fit that stays closed, not a struggle that stretches your fabric out of shape.
