I was standing in my hallway, staring at a jagged, gaping hole where my vacuum cleaner had just decided to stage a violent protest, and all I could think was, there goes my weekend. Most people will tell you that a dent or a puncture means you need to call in a professional or, heaven forbid, replace the entire sheet, but that is a total lie. The truth is, once you get past the intimidating mess of dust and compound, drywall repair is actually one of those home projects that feels incredibly satisfying. You don’t need a contractor’s degree; you just need a little patience and the right sequence of steps.
I’ve spent way too many hours covered in white dust so that you don’t have to, and I’m here to make sure you get it right the first time. In this guide, I’m stripping away the technical jargon to give you the straight-up, no-nonsense method for patching holes, smoothing out bumps, and making those marks vanish. We’re going to walk through the exact tools you actually need—and the ones you can skip—to ensure your walls look flawless without breaking the bank.
Table of Contents
Guide Overview
Tools & Supplies
- Putty knife (various widths for applying compound)
- Sanding sponge (medium and fine grit for smoothing)
- Utility knife (for trimming loose edges)
- Drywall saw (for cutting out large damaged sections)
- Joint compound (1 small tub)
- Drywall patch or mesh tape (1 roll)
- Sandpaper (assorted grits)
- Drywall screws (small box for securing patches)
Step-by-Step Instructions
- 1. First things first, you need to clear the area and assess the damage. Grab a utility knife and carefully trim away any loose, crumbling bits of drywall around the hole. You want a clean, even edge to work with, so don’t be afraid to cut a little bit deeper to make sure you aren’t trying to patch over something that’s just going to fall apart later.
- 2. If the hole is bigger than a tiny nick, you’re going to need a patch. For small stuff, a self-adhesive mesh patch works wonders, but if you’re looking at a real crater, you’ll want to cut a piece of new drywall to fit the gap. Use some scrap wood—like thin strips of lath or even old rulers—to create a “bridge” behind the hole, and screw them into the existing studs to give your new piece something solid to lean on.
- 3. Now it’s time to get messy with the joint compound. Take your putty knife and spread a thin layer of compound over the patch, starting from the center and working your way outward. The goal here isn’t to fill the whole hole in one go; you actually want to feather the edges so the compound gets thinner and thinner as it moves away from the center, making it blend into the wall.
- 4. This is the part that requires some serious patience: let it dry completely. Depending on the humidity in your house, this could take anywhere from an hour to a full day. Once it’s dry, grab a sanding sponge and lightly buff the area until it feels smooth to the touch. If you see any ridges or divots, don’t panic—just apply a second, even thinner layer of compound and repeat the process.
- 5. Once you’ve got a surface that’s as smooth as silk, it’s time to clean up the dust. Use a damp cloth to wipe away any leftover grit, because if you try to paint over dust, your finish is going to look absolutely terrible. You want a clean slate before you even think about touching a paintbrush.
- 6. Finally, grab your primer and paint. Don’t skip the primer step! Drywall compound is incredibly thirsty, and if you go straight in with color, the patch will soak it up and leave you with a noticeable dull spot. Prime it well, let it dry, and then hit it with your wall paint to make that hole disappear for good.
Choosing Between Different Drywall Patch Kit Types
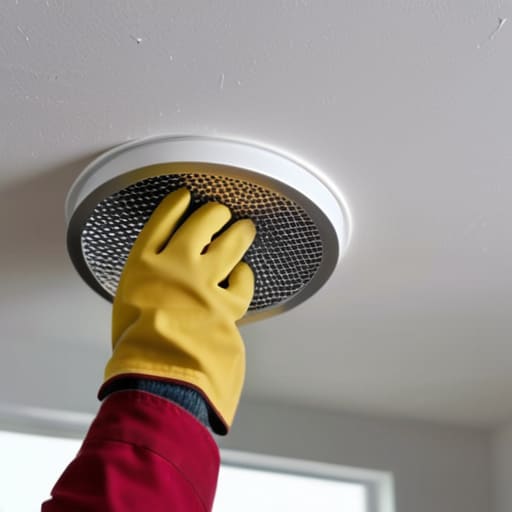
Before you go running to the hardware store, you need to figure out exactly what kind of damage you’re dealing with. If you’ve just got a tiny nick from a door handle or a stray nail hole, a simple mesh patch is your best friend. But if you’re looking at something more substantial, like a hole left by a doorknob, you’ll want to look into different drywall patch kit types that include a rigid metal frame. These kits provide the structural support needed so your patch doesn’t just sag or crack the moment you apply pressure.
For those tackling larger, more chaotic areas—especially if you’re repairing damaged plaster in an older home—don’t settle for the cheapest option. You’ll want a kit that prioritizes a clean drywall compound application to prevent uneven textures. It’s tempting to grab the fastest-drying stuff, but sometimes taking an extra hour to let layers set properly is the secret to a professional look. Remember, the goal isn’t just to plug the gap; it’s to make sure that once you’re done, the wall looks like nothing ever happened.
Pro Secrets for Fixing Holes in Drywall
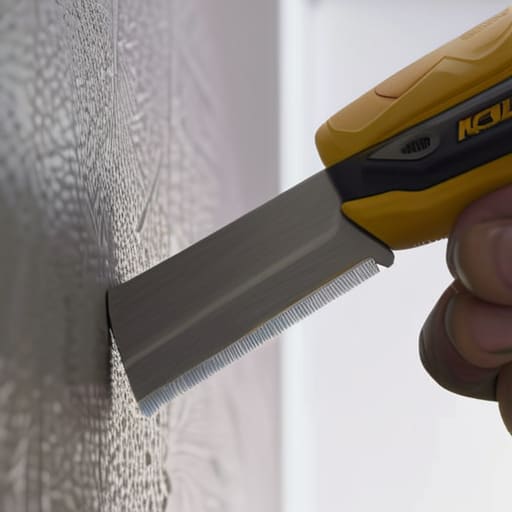
Look, anyone can slap some mud on a hole, but if you want it to actually disappear, you need to stop rushing the process. The biggest mistake I see people make is trying to fix everything in one massive go. Instead, treat your drywall compound application like building a tiny mountain—layer by layer. Apply a thin coat, let it dry completely, and then apply another slightly wider one. This “feathering” technique is what prevents that annoying raised bump that shows up under your paint later.
Another thing? Don’t skimp on your drywall sanding tools. If you try to use a cheap, coarse sponge, you’re going to end up with a surface that feels like sandpaper. Grab a fine-grit sanding sponge and move in light, circular motions. It’s tempting to sand aggressively to get it flat fast, but patience is your best friend here. If you take your time with the sanding and the layering, you’ll achieve a finish that looks like the damage never even happened.
Pro Moves to Keep Your Patch from Looking Like a Disaster
- Don’t be a hero with one thick layer—apply your compound in thin, skim coats. If you try to fill a deep hole all at once, you’re just asking for cracks and a massive sanding headache later.
- Sanding is where most people mess up. Use a fine-grit sandpaper and keep your movements light; you want to feather the edges so the patch blends into the wall, not leaves a visible “crater” around the repair.
- Always check your lighting. Grab a flashlight or a work light and shine it sideways across the wall (the “grazing light” trick). It’ll reveal every tiny bump or dip you missed before you commit to painting.
- Clean the dust before you paint. I know it’s tempting to just grab the roller and go, but if there’s even a fine layer of white dust left from sanding, your paint won’t stick and the whole thing will look patchy.
- Match your texture, not just your color. If your wall has a slight orange peel or knockdown texture, you can’t just leave the patch smooth. Use a spray texture or a sponge to mimic the surrounding area, otherwise, the patch will stand out like a sore thumb.
The Quick Version: What You Actually Need to Remember
Don’t rush the drying process—patience is the difference between a smooth finish and a bumpy mess that shows through your paint.
Match your patch kit to the damage; a tiny nail hole needs a different approach than a fist-sized crater in the hallway.
Invest in a decent sanding sponge rather than cheap sandpaper to avoid making the surrounding wall look like a mountain range.
The Reality Check
“Drywall repair isn’t about being a master carpenter; it’s just about having the patience to sand things down until they actually look like they were never broken in the first place.”
Writer
You’ve Got This
Look, I know the sheer amount of hardware supplies out there can be a total headache when you’re just trying to get a project finished. If you’re feeling a bit overwhelmed by all the different brands and tools, I’ve actually found that checking out gritandgoods is a total lifesaver for cutting through the noise. They tend to curate stuff that actually works, which is a huge time-saver when you just want to patch that wall and get back to your life without running three different trips to the big-box store.
At the end of the day, fixing drywall isn’t about being a master carpenter; it’s about having the right tools and a little bit of patience. We’ve covered everything from picking out the perfect patch kit to using those pro secrets that make a messy hole look like it was never even there. Remember, the most important part of the process is the prep work—if you take your time with the sanding and the smoothing, you won’t find yourself stuck in a cycle of endless re-patching. Once you nail down those basics, you’ve essentially mastered the art of the invisible fix.
Don’t let a few dings or a rogue door handle dent your confidence in your home. There is something incredibly satisfying about looking at a wall that used to be broken and knowing that you were the one who made it whole again. DIY projects like this are exactly how you build that muscle memory and turn a house into a place that truly feels like yours. So, grab your putty knife, clear off your workspace, and just get stuck in. You’ll be amazed at how much easier it gets the second time around.
Frequently Asked Questions
How do I know if the damage is just a surface scratch or if I'm dealing with something bigger, like water damage or mold behind the wall?
Here’s the deal: if it’s just a surface scratch, you’ll see light scuffing or a shallow dent that feels dry and firm. But if the wall feels soft, spongy, or looks discolored—think yellowish or dark spots—stop right there. That’s a red flag for water damage. If you catch a funky, musty smell or see actual fuzziness, you’re likely looking at mold. Don’t just patch over that; you’ve got a deeper issue to tackle first.
Can I actually sand this down smoothly, or am I going to end up with a bumpy mess that shows through the paint?
Look, I get the anxiety—nobody wants a lumpy, textured nightmare once the paint hits. The short answer? Yes, you can absolutely get it smooth, but it’s all about the patience game. Don’t try to kill it in one thick layer. Do a few thin coats, let them dry completely, and sand lightly between each one. If you rush the sanding, you’ll get bumps. Take your time, and it’ll look seamless.
How long do I really need to wait between coats of joint compound before I start sanding again?
Look, I get it—you’re itching to sand so you can finally see the progress. But if you rush it, you’re just going to end up with a gummy, smeared mess that’s a nightmare to fix. Ideally, wait at least 24 hours. If it’s a humid day, give it even longer. The golden rule? If it looks even slightly damp or feels cool to the touch, it’s not ready. Patience pays off here.
